Most independent developers do not lose their first sale because the product is weak. They lose it because the listing never explains the product well enough for a stranger to trust it. That is the gap this guide closes for Easyparser App Store for developers who build data tools, seller dashboards, and automation products. A listing is the first product experience most buyers see, so it deserves the same engineering care as the app itself.
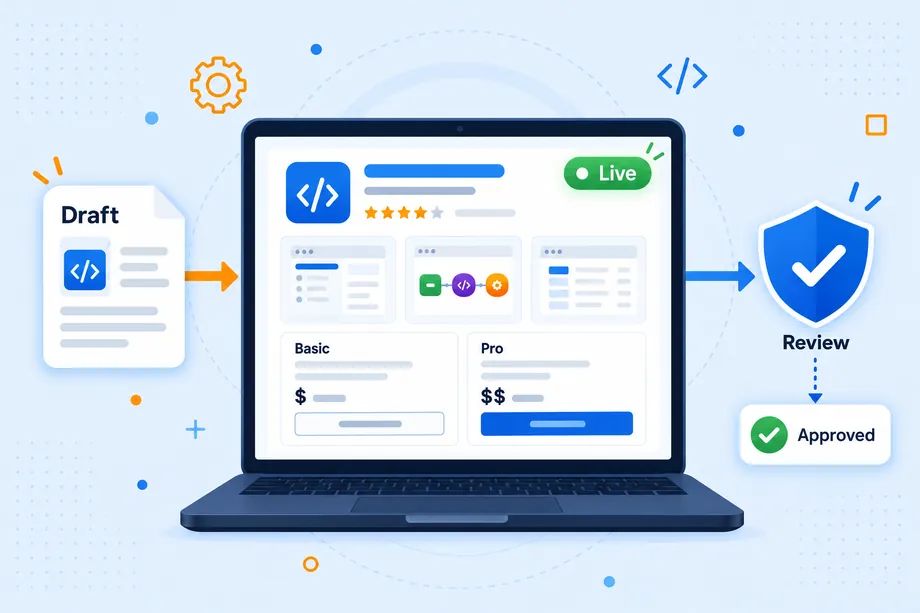
The publish flow is short on purpose. You create a developer profile, complete a listing, submit it for review, and publish the approved version. Payments, reviews, and payouts are separate journeys you switch on later.
What Is Easyparser App Store for Developers?
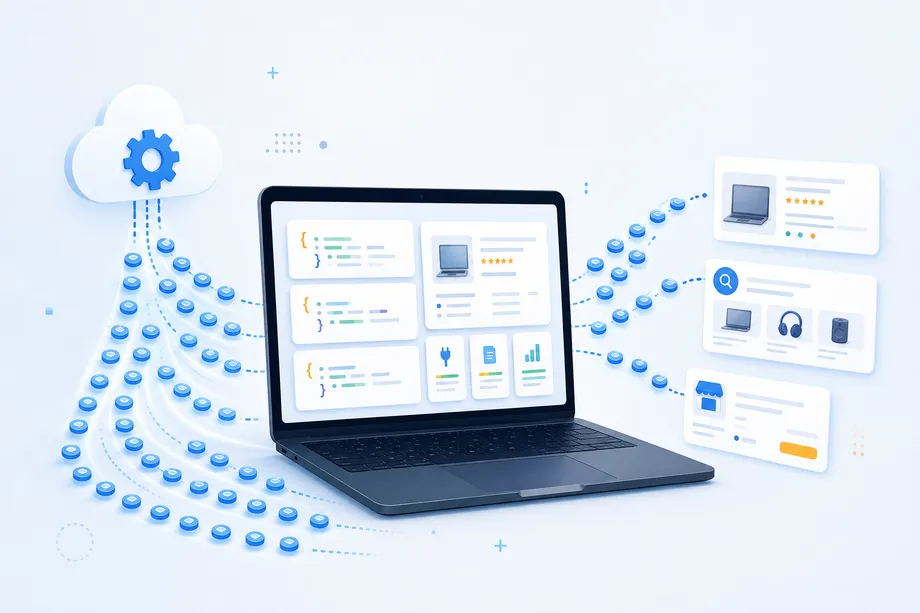
The Easyparser App Store for developers is a public marketplace where independent creators publish apps built on Easyparser data capabilities. Customers browse categories, read listings, compare plans, and open the developer's own product through a destination URL. Easyparser operates the marketplace, the review workflow, and the payment layer. You remain the independent provider and stay responsible for functionality, security, support, pricing, and privacy.
That split is useful: you skip building a checkout stack, while your backend still creates payment sessions and handles signed webhook events.
The marketplace groups apps into eleven categories: Personal Assistants, Productivity, Shopping and Deals, Games and Entertainment, Education and Learning, Business Intelligence, E-commerce and Seller Tools, Marketing and Growth, Data Extraction and Automation, Developer Tools, and Design and Creative. Most data products for business teams land in Business Intelligence, E-commerce and Seller Tools, or Data Extraction and Automation.
One point is easy to misread. Listings are moderated, and every submitted version can be reviewed before it becomes public. Approval means the listing met marketplace requirements at that moment. It does not certify that the app is safe, reliable, or compliant for every use case, and it does not promise featured placement, ranking, traffic, or sales. Read the App Publisher Terms before you submit, because they define the developer obligations behind every listing.
What Can You Publish on the Marketplace?
For the Easyparser App Store for developers, the strongest listings start from one job a customer can name. Easyparser groups typical products into seller intelligence, research workflows, data utilities, and automation products. A tool that monitors competitor offers, a product that turns product pages into clean rows, and a workflow that exports catalog data can all fit that shape.
You may publish only names, logos, screenshots, text, and software that you own or have the right to use. If your app displays third-party data, describe the source accurately and avoid implying an affiliation that does not exist. The destination URL must lead to a working experience, not a placeholder page.
Focused products convert better. A listing that maps identifiers and returns structured product fields is easier to evaluate than one that promises to solve e-commerce in general. If your app maps product identifiers, a stable lookup such as the product lookup operation gives you a predictable input and output to describe.
Step 1: Create a Clear App Listing
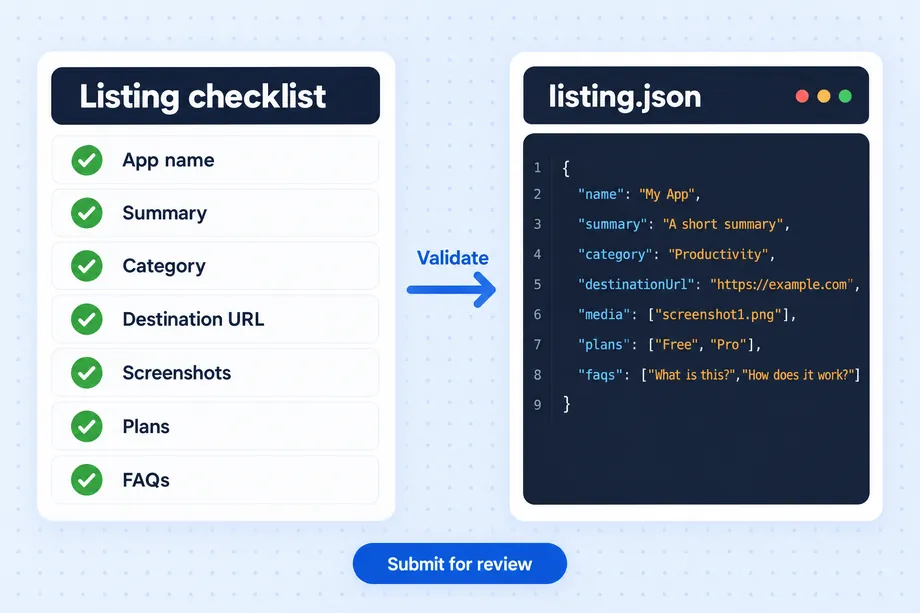
Create your listing in the developer workspace at app.easyparser.com/appstore, following the publishing guide from draft to live listing. The form asks for the details customers use to decide: app name, summary, category, destination URL, screenshots, plans, FAQs, and optional product video. Treat each field as a promise that must stay true after launch.
App name and summary
Lead with a distinctive brand name and keep it short. Apple caps names at 30 characters and subtitles at 30 characters, and Shopify recommends 30 characters or fewer for app names, so a compact name travels well across marketplaces. Avoid leading with a generic descriptor or with the name of a platform you integrate with, because that suggests an affiliation you may not have.
The summary is where buyers decide whether to keep reading. Name the audience, the input, and the outcome in one sentence. "Bulk product lookup for catalog teams" is weaker than "Paste a list of product URLs and export clean catalog rows with prices and availability." The second version tells a buyer what to bring and what they get.
Category and destination URL
Choose the category that matches your core function, not the category with the most apps. A misclassified listing creates review friction and attracts the wrong visitors. Send people to the page that starts the real workflow. Shopify advises linking to dedicated pages rather than promotional landing pages, and the same holds here: the reviewer and the customer both need to reach a working screen.
Step 2: Add Screenshots, Plans, and FAQs
A strong listing on the Easyparser App Store for developers sells with evidence, not adjectives. Capture the real interface at a readable size, crop out browser chrome, hide personal data, and show the result a customer cares about. Apple allows up to ten screenshots and notes that the first one to three can appear in search results, while Shopify recommends three to six desktop screenshots at 16:9. The opening frames carry most of the decision.
Plans need the same accuracy. State the price, the billing period, what the plan includes, and what happens when a limit is reached. If you offer a free tier, say so plainly and explain the limit. Plans, taxes, access terms, and product support are managed by you as the independent developer, so a mismatch between the listing and your checkout is yours to fix.
FAQs remove the last objections before a click. Cover setup, the first successful run, usage limits, purchase and refund questions, and failure handling. The publish guidance lists exactly these areas, and a good FAQ answers them in the customer's words rather than in internal terminology.
Product video is optional, but a short recording of one complete run often replaces a paragraph of explanation. Keep it current.
Step 3: Submit Your Listing for Review
When the listing is complete, submit it. Reviewers assess whether the public information represents the product accurately and whether the app meets marketplace eligibility requirements. Make their job easy: link a working destination, keep claims measurable, and make sure screenshots match the current build.
Rejections usually come from a small set of issues. The destination URL does not work or requires a login the reviewer cannot pass. The summary claims a capability the product does not deliver. Listing pricing differs from checkout pricing. Screenshots show a different product or hide the interface. Content or logos belong to someone else. Data and permission requests are not explained.
Easyparser may approve, reject, restrict, remove, or request changes to a listing. That range is normal for a moderated marketplace, and it applies to every submitted version. If you receive change requests, fix the specific issue, resubmit, and note what changed. Avoid arguing in the listing text; reviewers read products, not negotiations.
No public service level for review time is published, so plan launches without assuming a fixed turnaround.
Step 4: Publish Updates Without Taking Your App Offline
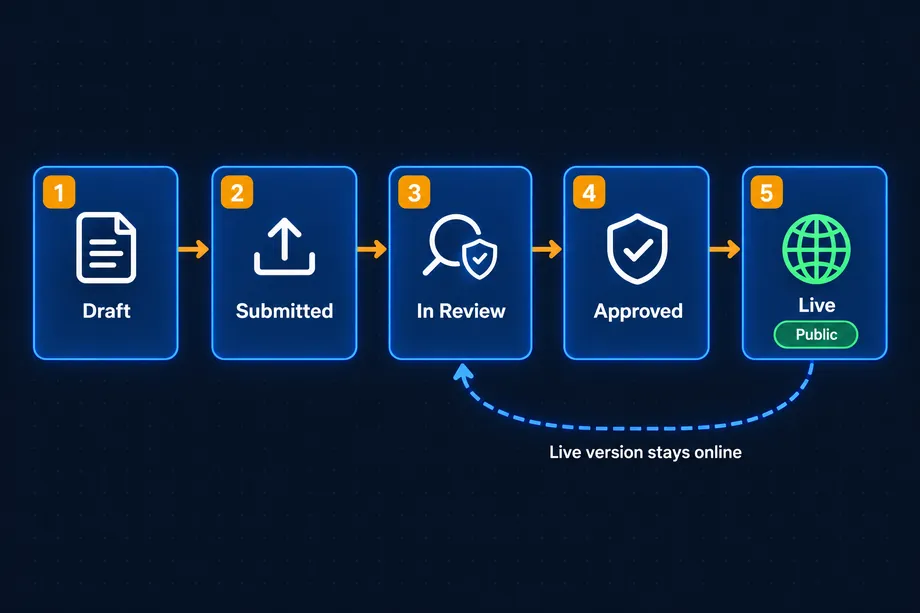
Approved listings can evolve. When your product changes, submit a new version while the approved version remains available to customers. After approval, the new version becomes public. This model protects the customer experience: people keep buying the version that passed review until the replacement clears the same bar.
Keep updates small and specific. Change the screenshot that shows the new screen, update the plan that now includes a higher limit, and adjust the FAQ that no longer matches behavior. Pair each change with a release note so support can explain what changed.
If a submitted update is rejected, the live version stays up. That is an advantage, but it is not permission to let the listing drift. A stale listing that still describes an old workflow is the fastest way to collect refund requests and negative reviews.
How to Make a Data App Easy to Understand
Data apps are abstract by nature, which makes plain description more valuable. Start with the input. A file of product URLs, a list of identifiers, or a scheduled feed are concrete starting points. Then show the output in the shape the customer will receive it: fields, units, currency, and missing values.
Be explicit about failure. Customers trust a product more when they know that an invalid identifier is reported instead of silently dropped. Describe the smallest useful unit of work, such as one product detail request, and explain how credits map to that unit.
A product detail call is a good example to document because it returns the fields most buyers ask about: title, price, availability, ratings, and identifiers. Linking to the product detail operation from your listing page or onboarding email gives technical buyers a precise reference instead of a marketing claim.
For seller-facing products, show the decision the data supports. A price monitoring view that highlights a competitor's move, or a sales estimate that flags a demand spike, is easier to sell than a raw feed. A reference to the sales analysis operation helps buyers understand which signal feeds that view.
Finally, make cost predictable. If your app charges per credit pack or per plan, explain what one pack covers and how a customer can estimate usage before buying.
Technical Depth: Model a Listing as Validated Data
Teams that publish often stop editing listings by hand and start treating them as records. That shift is worth the effort. A listing has required fields, length limits, enums, URLs, media, prices, and a status. Once you model it as data, you can validate it before submission and catch most review comments in your own pipeline.
Payload shape
A minimal payload can stay small: a name and summary, a category from a fixed list, an HTTPS destination URL, an ordered media array with alt text, a plans array with amount and currency, and a FAQs array with question and answer pairs. Add support and privacy URLs, a data and permissions note, and a schema version so old records stay readable when the format changes.
Validation and normalization
Validation should run before a human sees the form. Trim whitespace, collapse repeated spaces, apply Unicode NFC normalization, reject placeholder text, and enforce character limits per field. Validate URLs by scheme and by a live check that returns a success status. Require at least three screenshots, consistent aspect ratios, and alt text on every image. Reject prices that are negative, missing a currency, or inconsistent with checkout.
Normalization keeps records comparable across versions. Store money in minor units, keep categories in one canonical spelling, sort media by display order, and hash each screenshot so you can tell when an image changed without diffing pixels. Store the reviewer-facing text exactly as submitted.
Status and errors
A simple state machine covers the lifecycle: draft, submitted, in review, changes requested, approved, and live. Keep the live version as a separate immutable record, and promote the new version only after approval. Every transition should record who triggered it and when.
Error messages should name the field and the fix. LISTING_NAME_TOO_LONG, DESTINATION_URL_UNREACHABLE, SCREENSHOT_ASPECT_INVALID, PLAN_PRICE_MISSING, FAQ_TOO_SHORT, CATEGORY_MISMATCH, and CLAIM_UNVERIFIED are more useful than a generic validation failure. Log the exact rule that failed so support can explain a rejection without guessing.
Quality gates before submission
Run four gates. First, a destination smoke test from a clean session. Second, a consistency check between listing plans and checkout plans. Third, a freshness check that compares screenshot hashes with the current build. Fourth, a claim review that flags superlatives, guarantees, and unverifiable numbers for a human decision.
App Publishing Checklist
Use this list before every submission, not only the first one. It turns the Easyparser App Store for developers into a repeatable release routine instead of a one-time launch task.
- Developer profile complete and contact details current
- App name short, brand-led, and distinctive
- Summary names the audience, input, and outcome
- Category matches the core function of the product
- Destination URL loads without an account wall
- At least three real screenshots with alt text
- Plans match checkout prices and usage limits
- FAQs cover setup, usage, purchase, and failures
- Screenshots and video reflect the current build
- Data and permission requests explained in plain language
- Publisher terms reviewed and content rights confirmed
- Update plan ready for the first post-launch change
Conclusion: Publish, Review, and Keep Improving
The Easyparser App Store for developers rewards clarity more than volume. A focused product, an accurate listing, real screenshots, honest plans, and useful FAQs give reviewers and buyers the same thing: a reason to trust the page. Review remains a quality gate, not a traffic promise, so the work after approval matters just as much as the work before it.
Start with one job, describe it in the customer's words, and keep the listing as current as the code. That habit turns a single approval into a product surface that keeps earning attention.
Start exploring Easyparser for free
Start Your Free Trial100 free credits, no credit card required.